
How is a metal shed kit secured during installation?
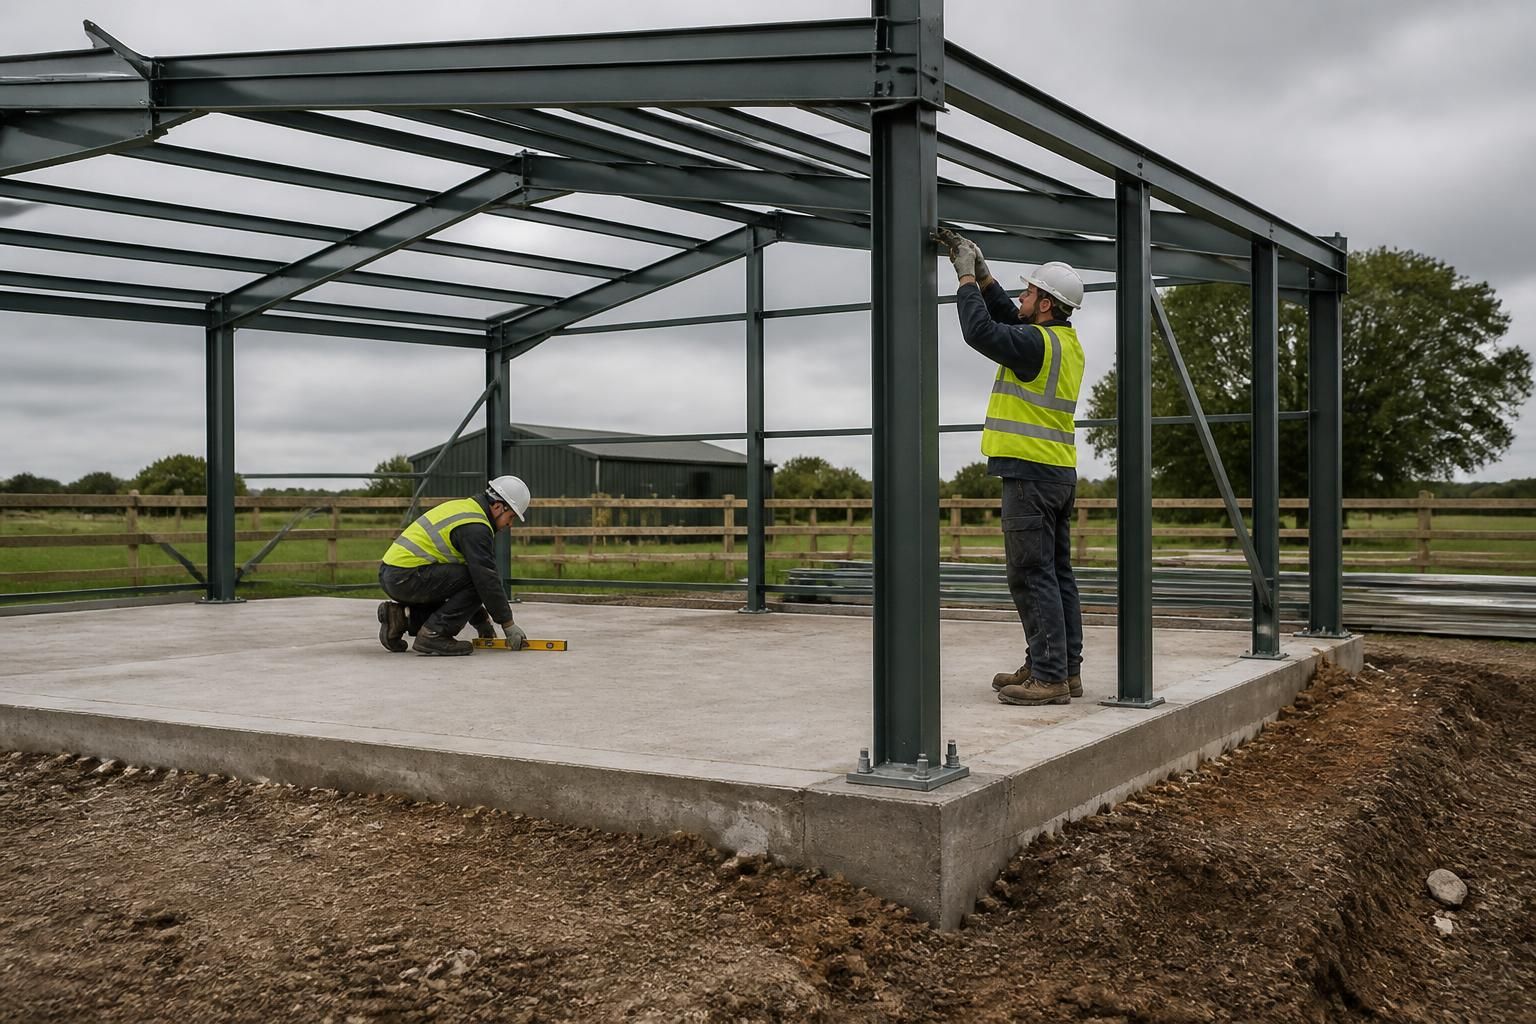
A metal shed kit is secured by fixing the steel frame to a suitable prepared foundation using specified anchor bolts or other engineered fixings. Temporary bracing keeps the frame stable during assembly, while the completed connections, cladding and roof structure provide the building’s permanent rigidity.
A metal shed kit is secured through a controlled erection sequence that keeps the structure aligned while its permanent connections are completed. The installer first verifies the prepared base and the fixing positions, then assembles the main steelwork in the order shown on the design and fabrication drawings. Alignment, connection tightness and the addition of secondary members are checked progressively rather than leaving all adjustments until the end.
The condition of the base is important because steelwork should not be used to compensate for an inaccurate or unstable foundation. Before assembly, the installer should check:
- the base dimensions against the building drawings;
- the level across the fixing areas;
- the position and spacing of the holding-down points;
- the squareness of the base by comparing its diagonals; and
- whether the surface is strong enough to support the intended building and its use.
If the fixing points do not correspond with the frame, the issue should be resolved before the steel is forced into position. Drilling new holes, enlarging connection holes or packing beneath members without approval can weaken the intended connection or leave the frame out of alignment.
During assembly, the first bays or frame sections are kept stable with the restraints specified for that building. These may include temporary props, cables or other bracing arrangements suitable for the erection method. Such restraints are part of the installation process, not a substitute for the finished structural system, and should remain in place until the drawings or installer confirm that enough permanent steelwork has been connected.
Each frame is positioned accurately before the connections are fully tightened. Installers check that the columns are vertical, the frame lines are straight and the roof members meet correctly. They may use levels, tapes, diagonals and other surveying equipment to identify movement or cumulative errors. Correcting a small misalignment at the relevant stage is preferable to forcing later panels or roof components into place.
The connection method depends on the kit design. Bolted joints are assembled with the specified bolts, nuts and washers, while other components may use designed steel cleats, brackets or proprietary fixings. The installer should follow the supplied drawings for bolt grades, hole positions, tightening requirements and connection sequence. Fasteners should not be substituted simply because a similar size appears to fit. Where a particular tightening torque or inspection procedure is specified, it should be followed with suitable calibrated equipment.
Once the primary frame is positioned, the remaining steel members are added in the planned sequence. Purlins, side rails, eaves members, gable components and other secondary steelwork tie the individual parts together and help maintain the designed geometry. Cladding and roof components are then fixed to the members intended to receive them. Fixings need to be correctly located and tightened sufficiently to hold the sheets without distorting them, stripping the threads or damaging protective coatings.
Openings require particular care. Door and window frames, if included in the design, should be checked for level, square and clearances as the surrounding steelwork is secured. A door should not be used to pull a distorted frame into position. Similarly, cladding should not be relied upon to correct a primary frame that is out of plumb.
Before temporary erection restraints are removed, the installer should confirm that the complete permanent arrangement is in place and that all specified connections have been made. A final inspection normally includes checking for missing or loose fasteners, gaps at designed joints, damaged members, unsupported edges and any movement that suggests the frame has shifted. Protective treatment should also be inspected, with damage dealt with in accordance with the steelwork specification.
Wind and other site conditions can affect an incomplete structure, so partially assembled steelwork must not be left unsupported or treated as secure before the planned connections and restraints are complete. For this reason, professional installation follows the design drawings and a methodical sequence rather than assembling the kit in whichever order is most convenient on site.
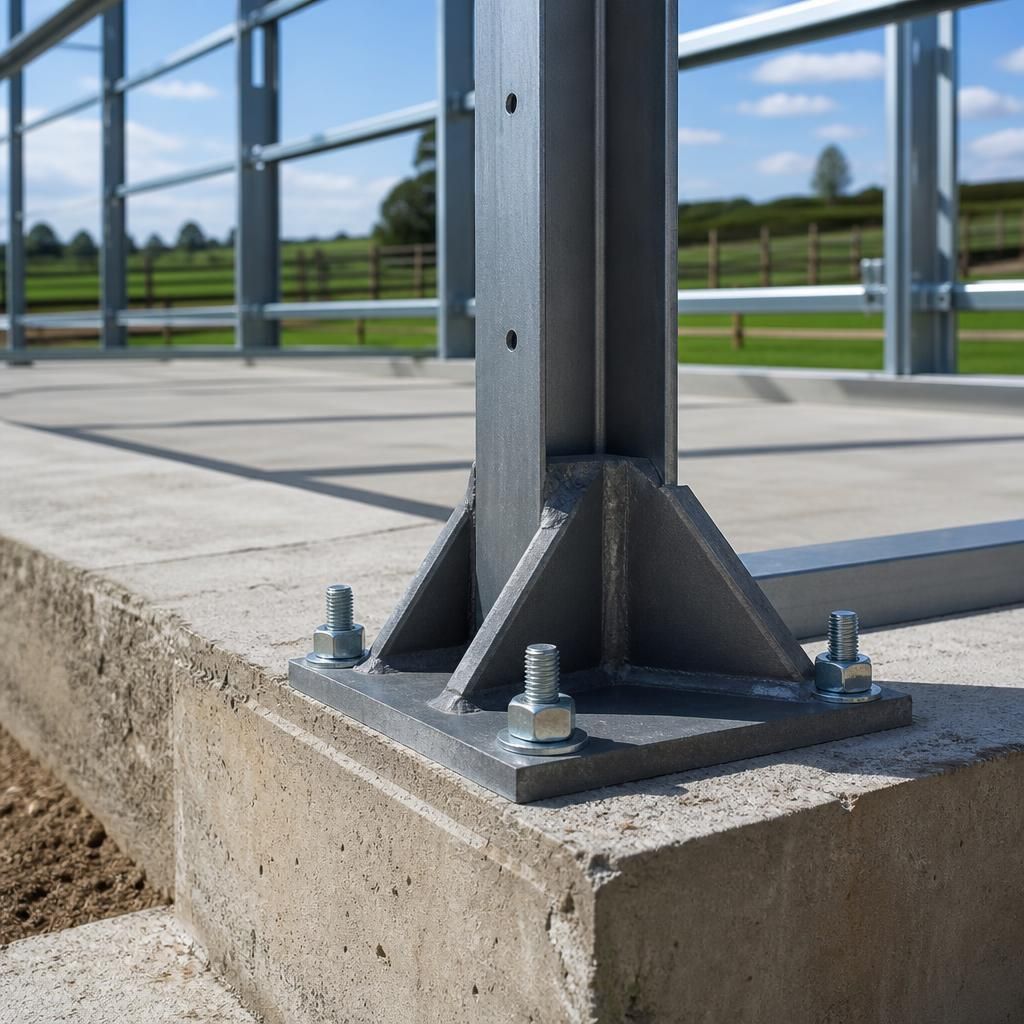
The anchor connection does more than hold the frame in place during assembly. It transfers forces from the steelwork into the foundation, including loads that could cause sliding, uplift or rotation. The bolt type, diameter, embedment, washer arrangement and position must therefore match the structural design and the foundation specification. A fixing that appears to fit may not provide the required capacity, particularly if it is installed too close to an edge or into unsuitable material. For this reason, installers use the specified holding-down arrangement rather than replacing it with general-purpose fixings.