
How are corrugated steel roofing sheets fixed to purlins?
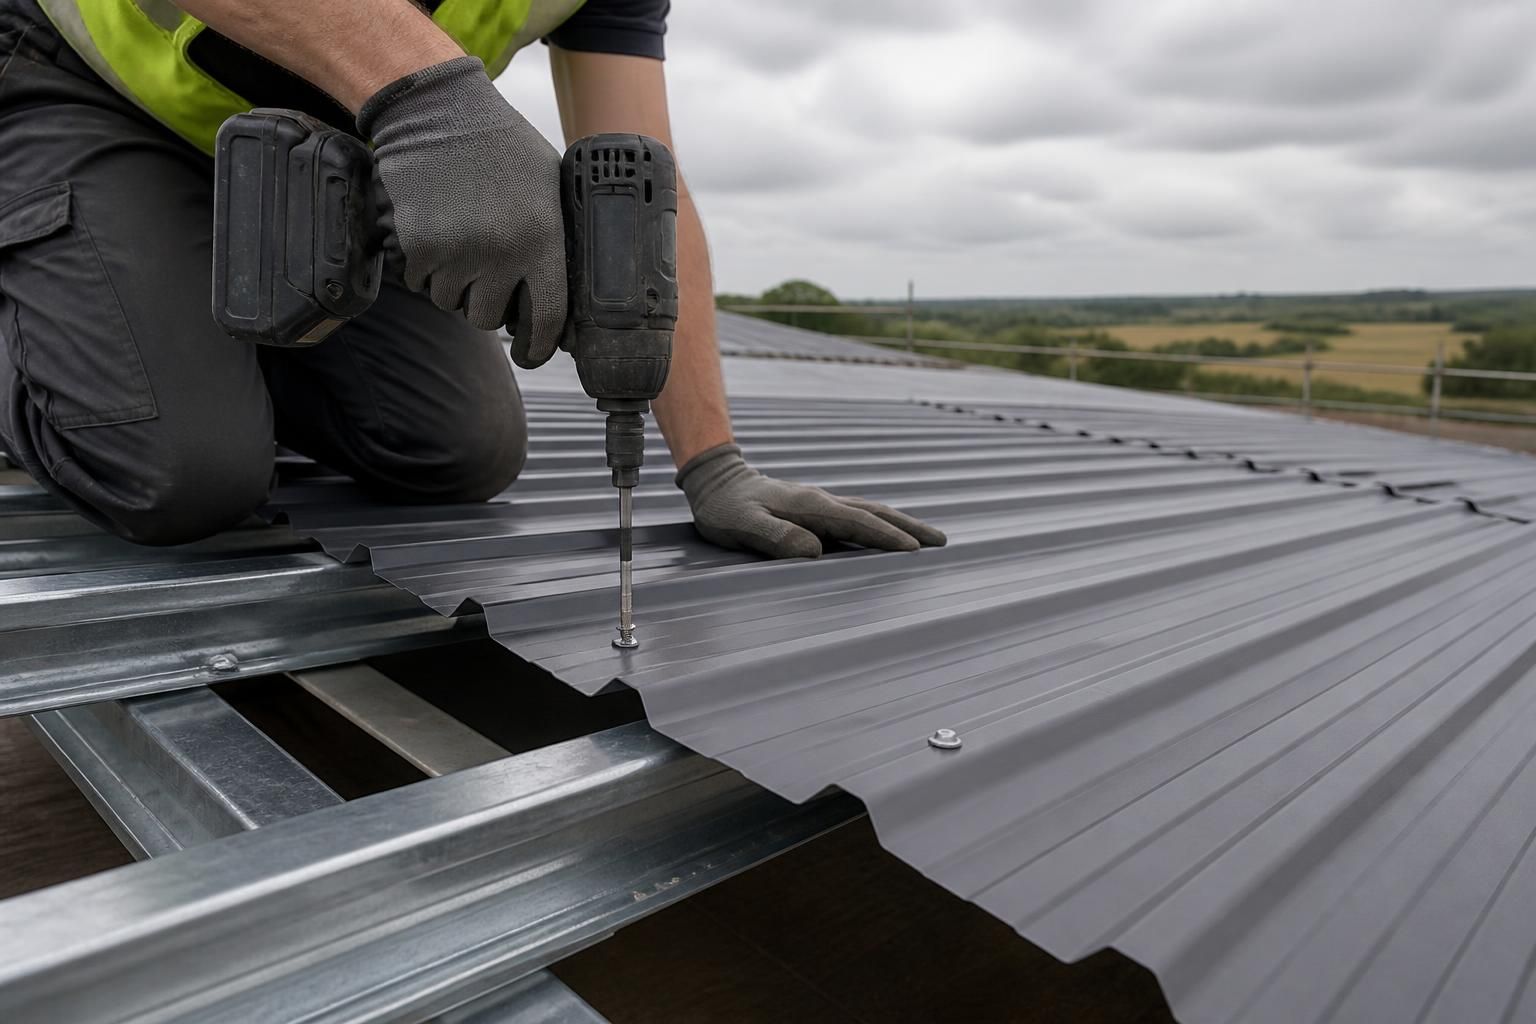
Corrugated steel roofing sheets are fixed to purlins with corrosion-resistant self-drilling roofing screws fitted with sealing washers, usually driven through the sheet crest into the steel purlin below. Fastener positions, spacing and side-lap fixings should follow the sheet manufacturer’s installation guidance and the building’s design requirements.
The fixing system must transfer wind and other roof loads from the corrugated sheet into the purlins without crushing the profile or allowing water into the building. In practice, this means using the specified roofing fasteners, positioning them accurately over the supporting purlins, forming sound sheet laps and tightening each fixing sufficiently to seal the washer without distorting the sheet.
Preparing the purlins
Before sheets are installed, the purlins should be correctly aligned, securely connected to the frame and free from projections that could prevent the sheet sitting flat. Their centres must correspond with the roof design and the sheet manufacturer’s fixing layout. Any variation in purlin position can affect end laps, fastener placement and the ability of the screw to penetrate the support correctly.
The purlin material is also important. A screw designed for a particular thickness of steel will not necessarily be suitable for a heavier section, timber support or a purlin with an existing coating. Fastener selection should therefore take account of the support thickness, the sheet coating, the exposure conditions and the required resistance to wind uplift. Where the roof forms part of a structural building package, the fixing specification should be checked against the engineer’s design.
Positioning the sheets
- Sheets are laid with the correct side lap and end-lap arrangement, maintaining the intended direction of overlap so that rainwater runs over, rather than into, the joint.
- Each sheet should bear properly on the purlins at its ends and intermediate supports. A screw placed too close to an unsupported edge can deform the sheet or fail to develop the required holding strength.
- Fixings should be kept in a consistent line over the purlin. This helps the screw engage the support and reduces the risk of drilling into an edge or missing the purlin altogether.
- Side laps and end laps need the additional stitching or lap fixings shown in the installation instructions. These hold adjacent sheets together and help prevent the lap opening under wind or movement.
Choosing and installing the fasteners
Roofing screws normally have a corrosion-resistant finish and a bonded sealing washer. The screw must be long enough to pass through the sheet and engage the purlin by the amount required for the particular support, while avoiding unnecessary projection or interference beneath the roof. The washer should sit squarely against the sheet and cover the hole without being trapped on a rib edge.
Self-drilling fasteners are installed with a suitable driver and a controlled clutch setting where possible. Excessive pressure or torque can strip the thread in the purlin, enlarge the hole and crush the corrugation. Insufficient tightening can leave the washer loose, allowing water and dirt to reach the penetration. The correct result is a washer that is evenly seated and compressed, with no visible distortion of the sheet or seal.
Fasteners should not be driven at an angle. An angled screw can pull the washer away from one side of the hole and may not engage the purlin effectively. If a screw is removed or a hole is damaged during installation, the remedy should follow the manufacturer’s instructions; simply reusing a compromised hole may leave the seal unreliable.
Managing laps and penetrations
Where the roof length requires sheets to be joined, the end lap must be located over a suitable support and installed in accordance with the specified lap dimension. Lap sealant or sealing tape should only be used where it is compatible with the sheet coating and included in the system requirements. Sealant does not compensate for a misplaced screw, an inadequate lap or a sheet that is not properly supported.
Openings for rooflights, ventilators and other penetrations require their own support and flashing details. Screws around these areas must follow the penetration manufacturer’s or designer’s arrangement, because simply adding fixings to the sheet may transfer loads into an unsupported edge. Cut edges should be clean and treated as specified for the sheet finish to reduce the risk of premature corrosion.
Checking the completed fixing
- Confirm that every designed purlin line has the required fixings and that no screw has missed the support.
- Check that washers are seated evenly and are neither loose nor visibly over-compressed.
- Inspect side laps, end laps, eaves and ridge areas for consistent alignment and secure stitching.
- Remove swarf and metal fragments from the roof surface, as these can rust and stain the coating.
- Check for damaged coating, deformed corrugations and holes that have not been sealed correctly before the roof is put into service.
There is no universal screw spacing that is suitable for every corrugated roof. The required arrangement depends on the sheet profile, purlin spacing, roof geometry, building location and design loads. The manufacturer’s fixing schedule and the building’s structural drawings should take precedence over a generic layout. For a bespoke steel-framed building, the fixing pattern should be coordinated with the design and fabrication information before installation begins.
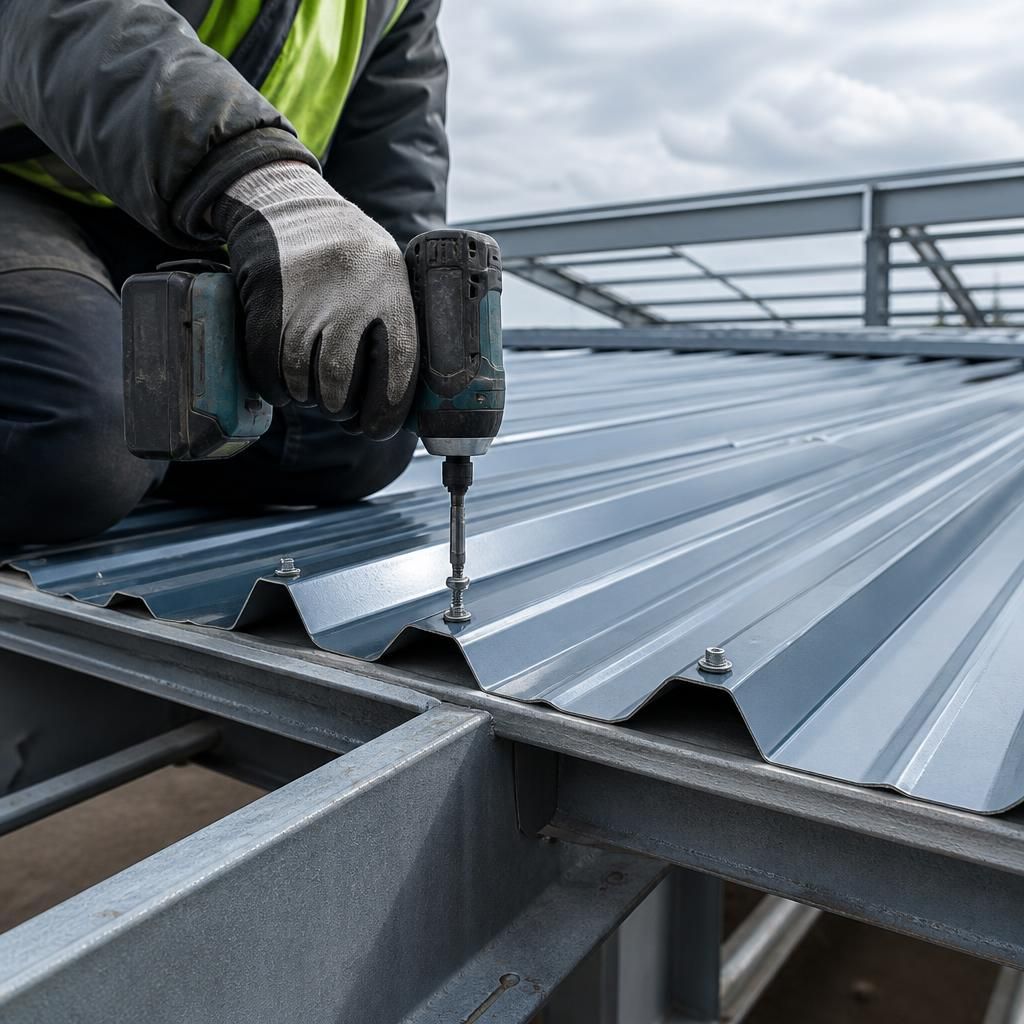
Fixing requirements can vary between the main roof area and its perimeter. Eaves, verges and ridge zones may experience different wind effects, so a layout suitable for the central roof area should not automatically be extended to these edges. The building’s fixing schedule should identify any zone-specific arrangement and ensure that each fixing is supported by the intended purlin or designed edge support.
This is particularly important at roof edges, where inaccurate positioning can leave the sheet insufficiently restrained or place excessive stress on the corrugation. Any additional perimeter fixings must therefore be coordinated with the sheet profile, support arrangement and structural design rather than added arbitrarily on site.