
How are steel roofing sheets cut to fit around roof penetrations?
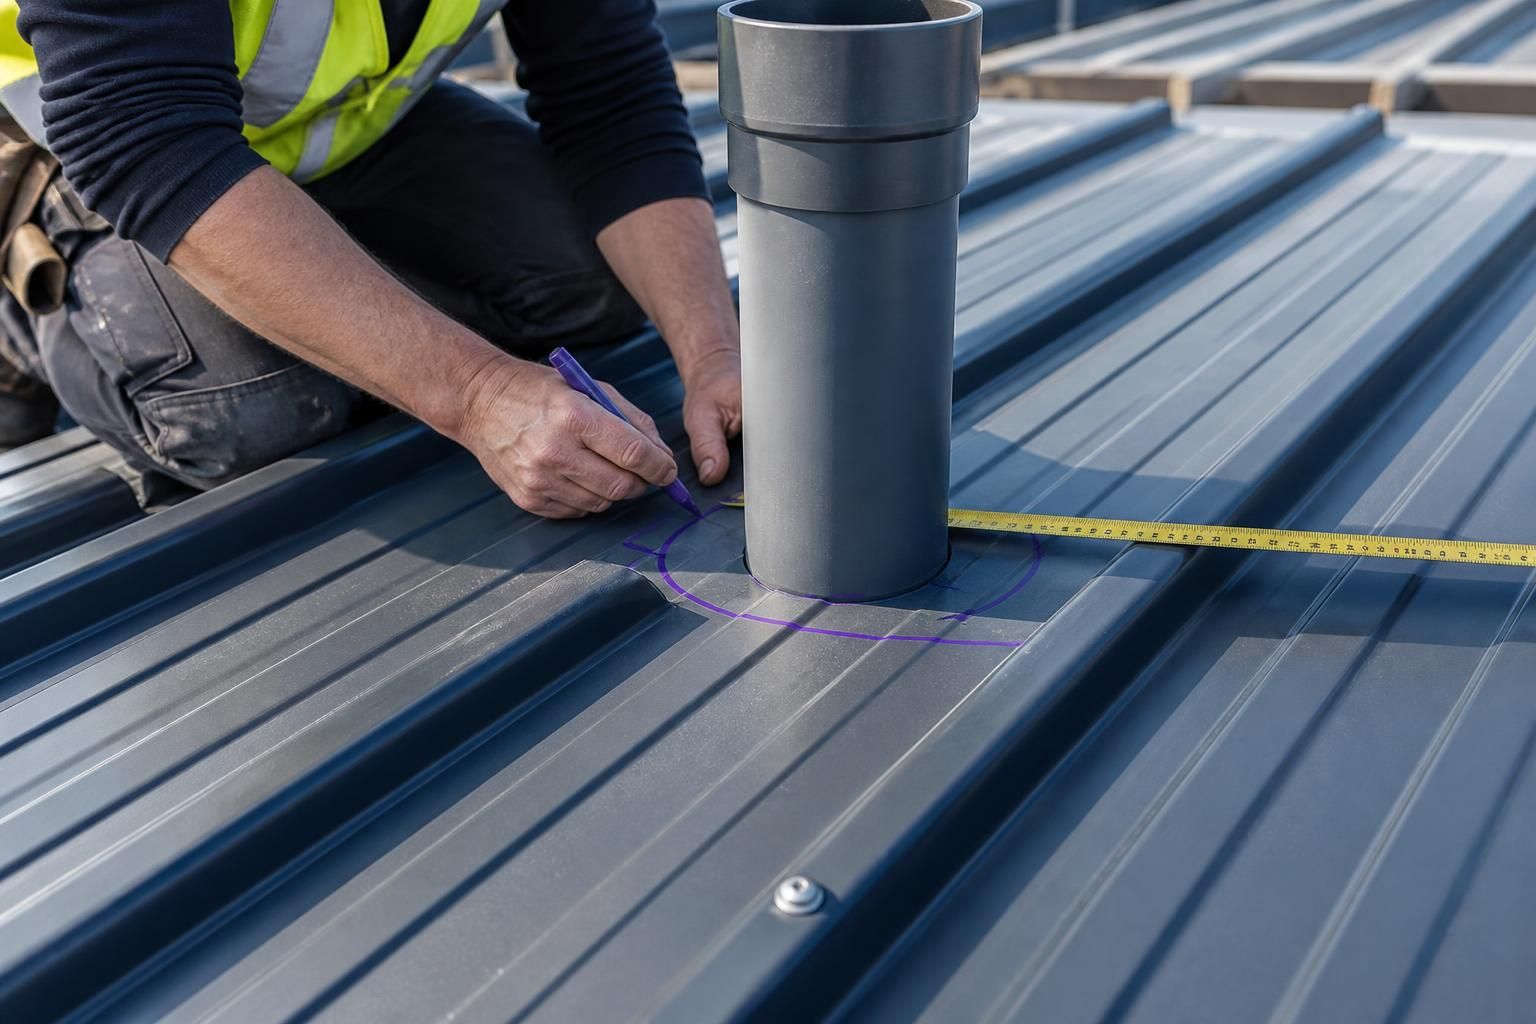
Steel roofing sheets are cut around roof penetrations by accurately marking the opening from measured dimensions, then using a suitable cold-cutting tool such as electric shears or nibblers to create a close-fitting aperture. The cut edges should be protected against corrosion, and the penetration sealed with the appropriate flashing and weatherproof seal so water cannot track beneath the sheets.
Cutting steel roofing sheets around a roof penetration is a coordination task between the sheet profile, the position of the opening and the penetration’s weathering system. The opening must allow the pipe, duct or other item to pass through without distorting the sheet, while leaving enough sound metal for the surrounding flashing, collar or curb to sit securely.
Before cutting, confirm the penetration’s final position from the roof plan and check it against the purlins, rafters, side laps and end laps. A penetration placed over a structural member may require a different flashing arrangement or local trimming. It is also important to check the manufacturer’s details for the penetration assembly, because some systems are designed to pass through the crest of a profile, while others may need to cross one or more troughs.
Transfer the opening position to the correct sheet using measurements taken from fixed reference points, such as the sheet end and a known side edge. Do not rely on measurements taken from a loose or temporarily positioned sheet. Mark the centreline and the intended perimeter separately, allowing for the sheet’s profile rather than treating its surface as flat. On trapezoidal or sinusoidal sheets, the marked shape may need to accommodate the ridges and valleys so the installed flashing can follow the profile without leaving unsupported gaps.
Where practicable, position the penetration so that it does not fall directly on a side lap or end lap. A cut through a lap can complicate sealing and may reduce the area available for reliable fixing. If the design makes this unavoidable, the lap, supporting arrangement and weathering detail should be resolved before fabrication or installation rather than improvised on the roof.
The cutting method should suit the coating and thickness of the sheet. Cold-cutting equipment is generally preferred because it avoids depositing hot swarf and damaging the protective finish around the aperture. Keep the sheet supported during cutting to prevent vibration, bending or tearing, particularly where the remaining metal around the opening is narrow. Remove swarf and filings from the surface as soon as the cut is complete, since loose metal particles can cause staining and become points of early corrosion.
Check the aperture against the penetration assembly before permanently fixing the sheet. The opening should be neither so tight that it forces the sheet out of shape nor so large that the flashing cannot bridge it securely. Account for the penetration’s movement where it may expand, contract or vibrate independently of the roof. Rigidly trapping a moving pipe or duct against the sheet can damage the seal and transmit stress into the panel.
Penetrations near the eaves, ridge or roof edge need particular care. There may be less sheet area for the weathering components to overlap, and water can be driven towards the opening by the roof profile or prevailing exposure. The flashing layout should direct water over the sheet rather than into a lap, and any upper or back detail should prevent water from collecting behind the penetration.
After the sheet is cut, inspect the perimeter for burrs, cracks, distorted ribs and coating damage. Any affected area should be dealt with using a compatible repair treatment specified for the sheet finish. The weatherproofing system should then be installed in its intended order, with the flashing shaped to the profile and fixed without crushing the panel. Sealant is a supporting part of the detail, not a substitute for correct overlap, fixing and water-shedding geometry.
Finally, inspect the completed penetration from both sides where access permits. Confirm that fixings are seated correctly, the flashing is continuous, the sheet has not been pulled out of alignment and no swarf or sharp offcuts remain. A controlled water check may help identify poor drainage or gaps, but it should not replace compliance with the roofing and penetration manufacturer’s installation detail. For complex ducts, grouped services, large openings or penetrations close to structural supports, the opening and any required trimming should be reviewed by the designer or roofing specialist before work begins.
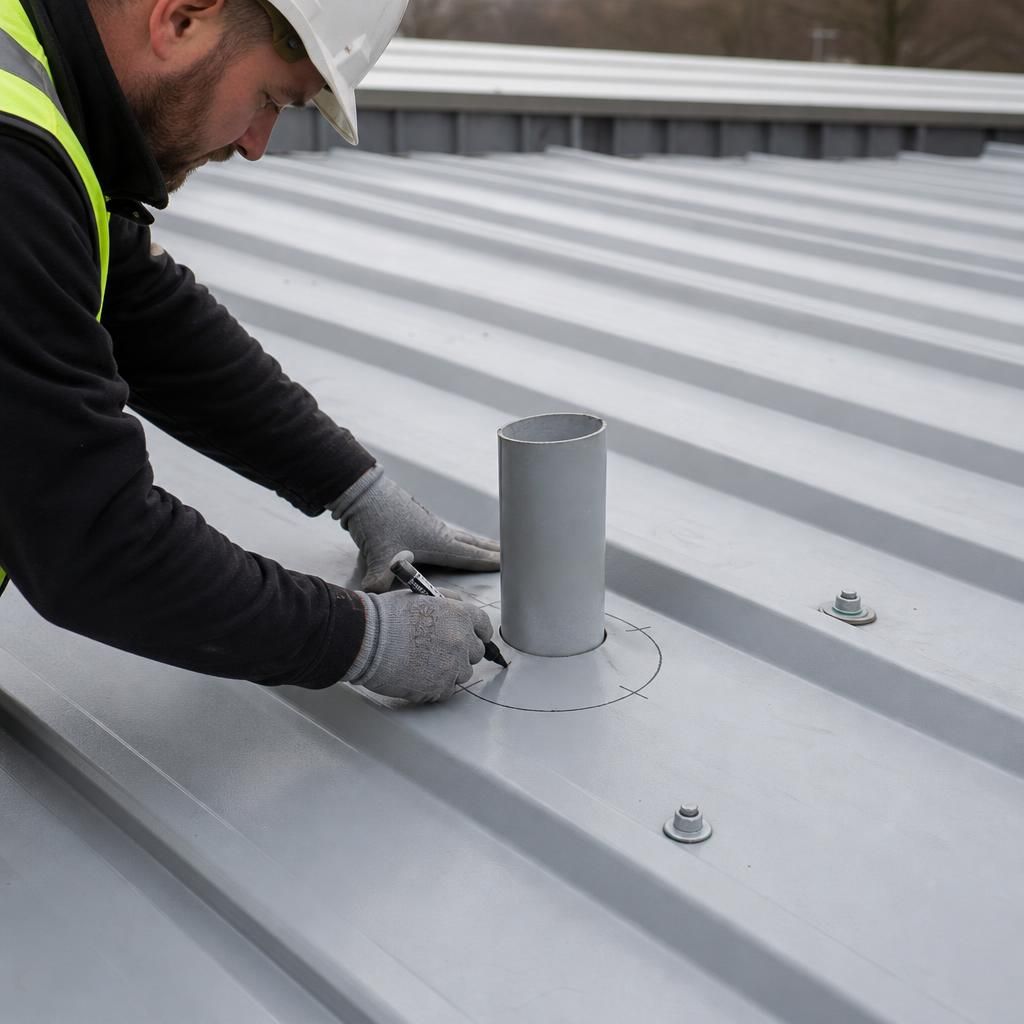
Where several pipes or services pass through the same area, the opening should be planned as a weathering detail rather than cut as one oversized hole. Separate penetrations can preserve more of the roofing sheet and allow each flashing collar to seal independently. If the services are too close together for individual collars, a properly supported curb or purpose-designed combined flashing is normally required.
Do not remove sheet material simply to make installation easier. An oversized opening reduces the metal available for fixing and leaves the flashing relying heavily on sealant. The required clearance, support arrangement and flashing footprint should be established from the penetration system’s installation detail before the sheet is cut. Where a large opening interrupts several ribs or falls close to a purlin, the framing and weathering design should be agreed before work starts.